There are a few centrefire rifle events every year that are just thoroughly enjoyable and worth attending. The Auckland NZDA Prize Shoot is one, as is the Thames NZDA shoot. The Hangiwera Station Sniper Shoot is definitely up there, and so is the Swiss Club’s Any Sights Any Rifle 300 metre shoot.
This year was my first shoot at the Swiss Club, although some of my shooting buddies have been going for years, and I attended on their recommendation.
An enjoyable shoot
The shoot is well organised, and is accommodating for younger or inexperienced shooters. There are club rifles available and the RO is very helpful with sighting in. The club rifles are either straight-pull Karabiners (K31s), chambered in the venerable 7.5×55, or modern semi-autos in 5.56 NATO/.223 Remington.
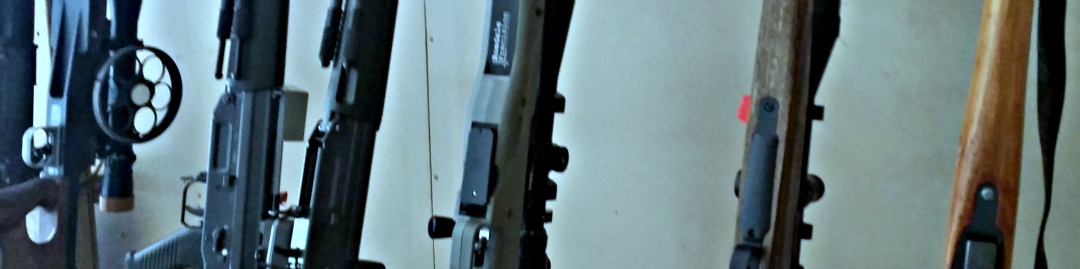
If you’re bringing your own rifle (as most do), you can use anything you like. If you’re really ambitious, you can try your open-sighted SKS and see what it will do at 300, but you’ll be going up against Bench Rest rifles that hit 10.1 more often than not. Most rifles on the day were a mix of F-Class, BR, sporting and service rifles. Because there is such a variety of shooters and equipment, it’s more likely that you will be competing amongst your group of friends than with the top of the table – unless you’re an excellent BR shooter.
Although I knew there was no way I could beat the top BR shooters with my modest sporter, this did not diminish my enjoyment of the day at all. I’m pretty competitive by nature, but found myself comparing my scores to my wife’s and those of the other Howick shooters. It also meant I got to see a bunch of really cool guns that you wouldn’t usually see in one competition.
Three-hundred metres is a pretty challenging distance if you haven’t shot past a hundred before. There were even a few who had not shot at all before. However, with the help of the club’s rifle master, these young shooters were hitting paper in no time.
The cost of the shoot is not prohibitive, with a range of $20 on the day, and of the cost of 25 rounds of ammo. The Swiss Club has a really good website for the ASAR shoot, which lets you book your position on the mound ahead of time. With several details across a few days of shooting, you’ll definitely find a time to shoot, and you may even try and better your score on another day.
The format
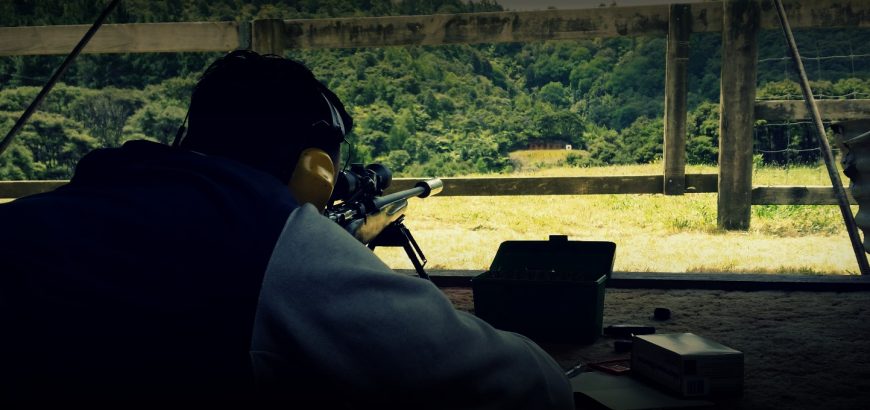
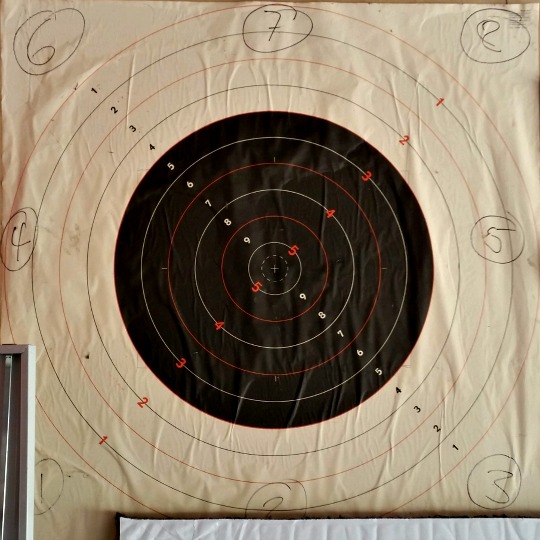
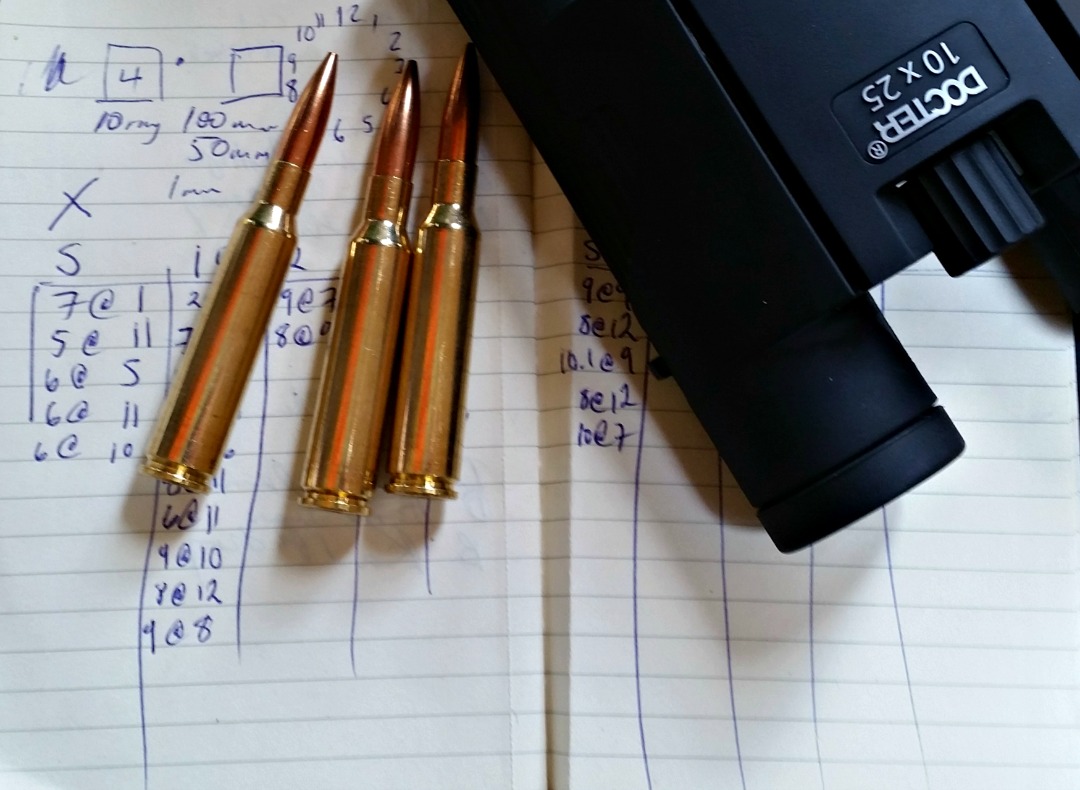
The shoot starts with 5 individual sighters. Each shooter on the line takes a single shot from the prone position (all shooting is prone), after which the targets go down and the scorers call back the score and location of the round to the RO via radio. A notepad and pen are handy, as you try and figure out where your sighters are landing. The shots are called out like “9 at 3 o’clock” or “7 at at 1 o’clock”, with the first number being the score (1-10) and the position on the clock helping you to identify which segment of the target you are landing on.
After you’ve gone through your 5 sighters, there are 10 individual scoring shots, shot in a very similar fashion. Each shot is still called out, helping you adjust your shot placement, especially if the wind picks up downrange.
After the individual shots, you have “rapid” groups of 2, 3 and 5. I say rapid, but it’s really not. It’s simply a few shots in a row. There is no pressure to hurry up, and there are plenty of people single loading their shots.
All shots are still called out, except for the final group. This means you can adjust your shot placement right up the last minute.
How hard is it to hit the 10 ring? You’ll need to be shooting around MOA (just over) to consistently hit the 10 ring at 300 metres. If you want to notch up a bunch of 10.1’s, you’ll need to be shooting around between 0.5 and 0.66 MOA.
The experience
I thoroughly enjoyed the shoot. I went a bit early to watch some of my mates shoot, but also to familiarise myself with the format and calls. I did end up waiting around a bit, but I ended up being there for most of the day, as I had some “technical difficulties”.
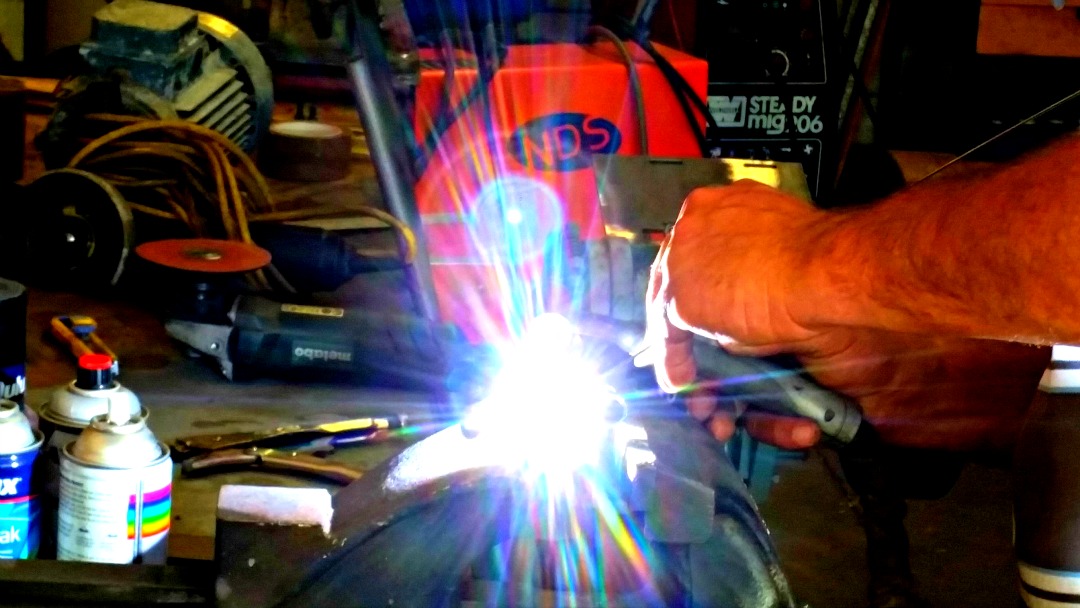
After watching the 11 am detail, I hung around over lunch time before taking up my spot on the mound. I was a bit nervous as I was shooting my rifle in its complete configuration for the first time. Since the last time I had shot, I had fitted and bedded my Boyds Prairie Hunter stock, had a new bolt handle machined, and modified my magazine follower. Also unfamiliar to me was a 6-24 scope that I had been sent to review.
Unfortunately the scope did not perform and was unable to be zeroed on the day. This meant I had to wait through an entire detail, pushing out my wife’s shoot as well. However, I used this time to fit my trusty Vortex Diamondback 4-12×40 BDC, which I brought just in case. I have learnt my lesson with taking unfamiliar equipment to a shoot.
Unfortunately this meant I had to sight in from scratch, however, I was on paper on my 3rd shot, and the rest was just fine-tuning. By the end of my shoot I had it right were I wanted it, which meant my wife had the rifle ready to go for her shoot, and actually did quite well. Results can be seen here.
Overall I was very happy with the my complete sporter set up, and with some more powerful glass, I think I’d be comfortable taking this rig out onto the F-Class range.
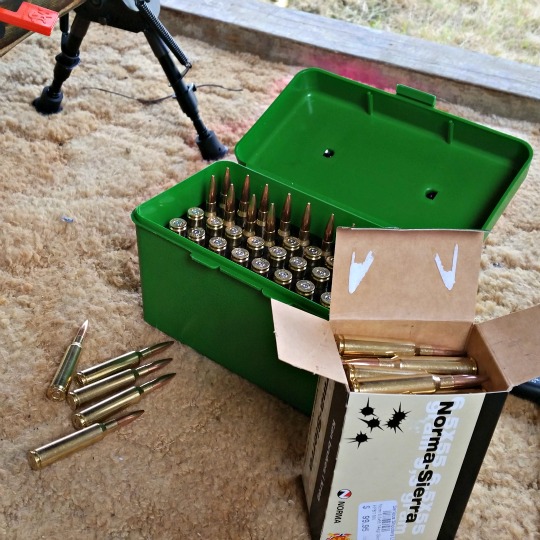
I think the load development still has some way to go, particularly as the barrel on this rifle is quite short. Not having developed a satisfactory handload, I shot this competition with factory 6.5×55 ammo. I used the Norma-Sierra 144gr HPBT, and the round seemed to perform pretty well. To be honest, I was more interested in the brass than anything else, as I think this rifle will prefer lighter projectiles, in the 130 – 140 grain range. Over the holidays I’ll be testing out the 129 gr Hornady Interlock and 140 gr A-max. I’ll be comparing this projectiles side-by-side with the 142 gr SMK and the 144 gr OEM projectile in the Norma-Sierra load.
At the end of the day, the shoot was enjoyable, and definitely an experience worth repeating. You can shoot multiple times on one day, or on multiple days across the competition. If I have the time next year, I’ll probably try shoot it on a few days. Being located only 45 mins or so north of Auckland, the range is really accessible, although it is also rarely accessible. The Swiss Club is, of course, a club for Swiss nationals, and as far as I know, this shoot is the only time of the year that the range is opened up to the general public.
If you would like to try a different range and format, and perhaps a longer distance than you usually get to, you’ll definitely enjoy the Swiss Club’s ASAR shoot.