There are many that will say that the Norinco JW-15 is an excellent tool. An implement meant to be thrown on the quad bike or back seat, and touted around the farm for practical purposes. I agree with those people 100 per cent, but I also think that with a little bit of elbow grease, this humble Brno-clone can be a decent shooter. One of the first things you can improve is the trigger.
Simplicity is…
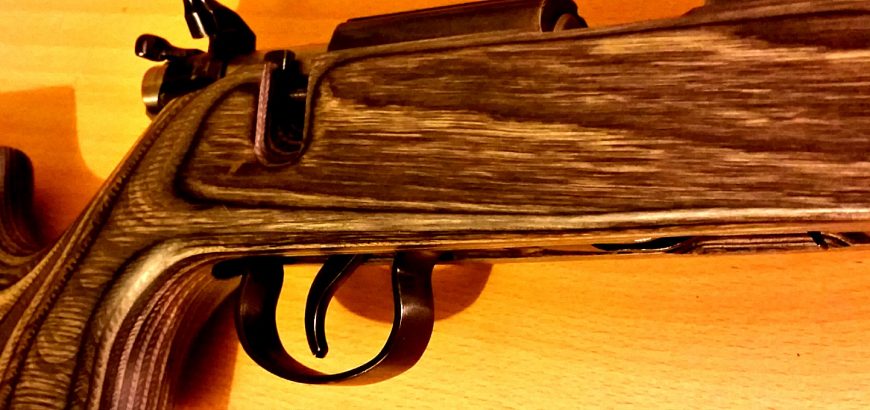
The trigger on the JW-15 is not pretentious at all. It can be gritty with excessive over-travel (a symptom of the Mauser-style trigger not absent in the Brno), but the ones I’ve tried all break like a glass rod at weights that are not excessive for average shooting.
With such a blank canvas, there is plenty of room for improvement with this trigger.
Trigger weight spring

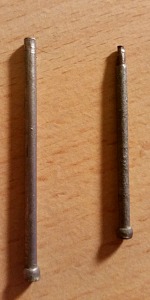
This is an easy one. I simply cut off a few coils to lighten my spring. Beware though, that if you cut off too much, the trigger won’t spring back into place after you’ve pulled it – which makes it pretty useless.
If you are not so bold or would like to return your firearm to original spec one day, replacing this spring with a lighter/shorter one will do the trick. I know of some people who have used springs from ballpoint pens. I’ve not found a pen spring that would do the job, but you might.
Polish
A lot of the machining on the JW-15 requires some work with a file, sandpaper and grinding paste to get to an acceptable level. The trigger is no exception.
Just about every part of the trigger could do with at least a polish. If it’s brand new, you’ve got a lot of grease to remove before you get to this point.
Sear adjustment – it’s your call
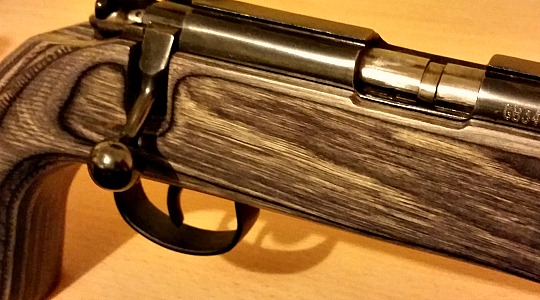
Adjusting the sear is a risky move. It can take a perfectly safe firearm and make it a loose cannon. There are three ways to adjust the sear on the JW-15, and none should be attempted without a serious level of confidence or skill. The last thing you want is a rifle that will go off when you bump it.
The first way is to adjust the grub screw behind the trigger. This will move the trigger to the rear and lower the sear in relation to the firing pin – i.e. less of the sear is engaging the firing pin. This means less effort is required to break that engagement, dropping the pin and firing the chambered round.
This method is reversible, and with thorough testing of the trigger mechanism is the safest way of adjusting the sear. I like to check this by ramming the bolt home as hard and fast as possible. If the firing pin drops while you are cocking it, there is not enough positive sear engagement – with enough force, you made the firing pin go right over the sear and hit what would be a live round. Obviously you test this with a dummy round.
The second way is to (lightly) polish the sear surface and/or sear ledge. This means taking away the grittiness of the finish, not changing the shape. This is an irreversible step, and too much polish will leave you with a rifle that won’t cock or that will fire every time you try and close the bolt. In other words, a useless, dangerous gun.
The third, and most dangerous (and pretty stupid) way, is to lightly round off the tip of the sear. What this does is remove the “harshness” from the trigger pull, making it soft and easy. Don’t mistake this for a lighter trigger pull – there is a difference.
The issue here is that the sear is angled sharply like that so that it holds the sear ledge till the very last millisecond, providing a clean and safe break. When one of these surfaces is rounded, the other can easily break the hold when the rifle is bumped or dropped. I don’t know anyone who would recommend trying to change the shape of the sear or sear ledge – at least not for the DIY operator.
The lightest trigger in town
I find the best combination for a light trigger on these rifles that is safe and pleasant to use involves taking a few coils off the spring, polishing the individual trigger components and adjusting the grub screw to lower the sear as much as possible without creating an unsafe action.
Remember, as always, that whatever you do with your firearm is up to you. Everything here is for informational purposes only, and if you’re uncomfortable, unskilled or lacking in confidence, you should either take your rifle to a qualified gunsmith or leave the thing alone.


2 thoughts to “JW-15 trigger improvement”