Prvi Partizan ammo has been on the market for years – decades even – but has only just started to make an impact in New Zealand. Or so you thought. Abbreviated to PPU, Prvi Partizan as we know it today has been around since the 1940s, although the company traces its roots back to the late 1920s and has had a few different names as wars and politics have shaped Europe.
My Serbian friend tells me it’s pronounced “pr-ah-vi”, not “privvy” as most people sound it out. It translates roughly to “first partisan” and gets its name from the long and thing rifles produced for partisan forces by the factory in earlier years.
War – what is it good for?
Well, most of the sporting arms and ammunition we enjoy today share their history with their military counterparts. A tonne of the most popular hunting and sporting cartridges today are military cartridges from the past 100 years or more, including:
- 7.62×51 NATO (.308)
- 5.56×45 NATO (.223)
- .300 AAC Blackout
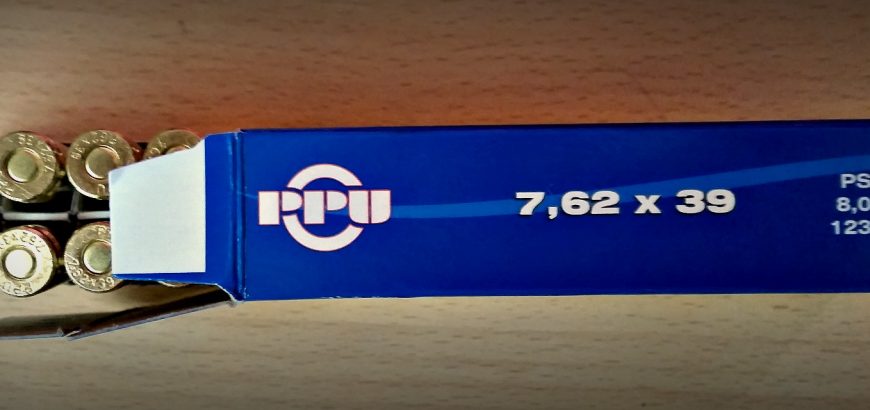
- 7.62×39
- 7.62x54R
- 6.5×55
- 7.5×55
- 7.92×57 Mauser
- 30-06
- .303
- .338 LM
- .50 BMG
Not to mention the endless array of pistol ammunition too. Of course the search for bigger, better and boom-ier things has led to a surge in development in the cartridge market today, much of which is driven by shooters who demand a high level of accuracy. Ammunition that used to only be available to wildcatters for varminting or bench rest shooting is now common place in the USA and is making its way over to New Zealand as well. Rimfire is also growing in leaps and bounds with the .17 WSM making waves in the shooting community.
But what about those stalwarts of scrub hunting and cheap and cheerful plinking? The cut down .303 bush guns and the semi-auto fun-makers in 7.62×39? Well, PPU is your knight in shining armour. For those that love shooting their military calibre rifles without breaking the bank, the ammunition produced by Prvi Partizan is worth your consideration.
On the plus side
While you might think Prvi hasn’t been in the New Zealand market for a while, it actually has. If you’ve shot Highland ammo, you’ve shot PPU. It’s the brand they’ve been using down here. In terms of military cartridges, Highland hasn’t been the cheapest, but it’s a step up from the dirty steel-cased stuff from Russia. It’s certainly better than putting corrosive ammo through your firearms, especially if you’re not that thorough with your cleaning.
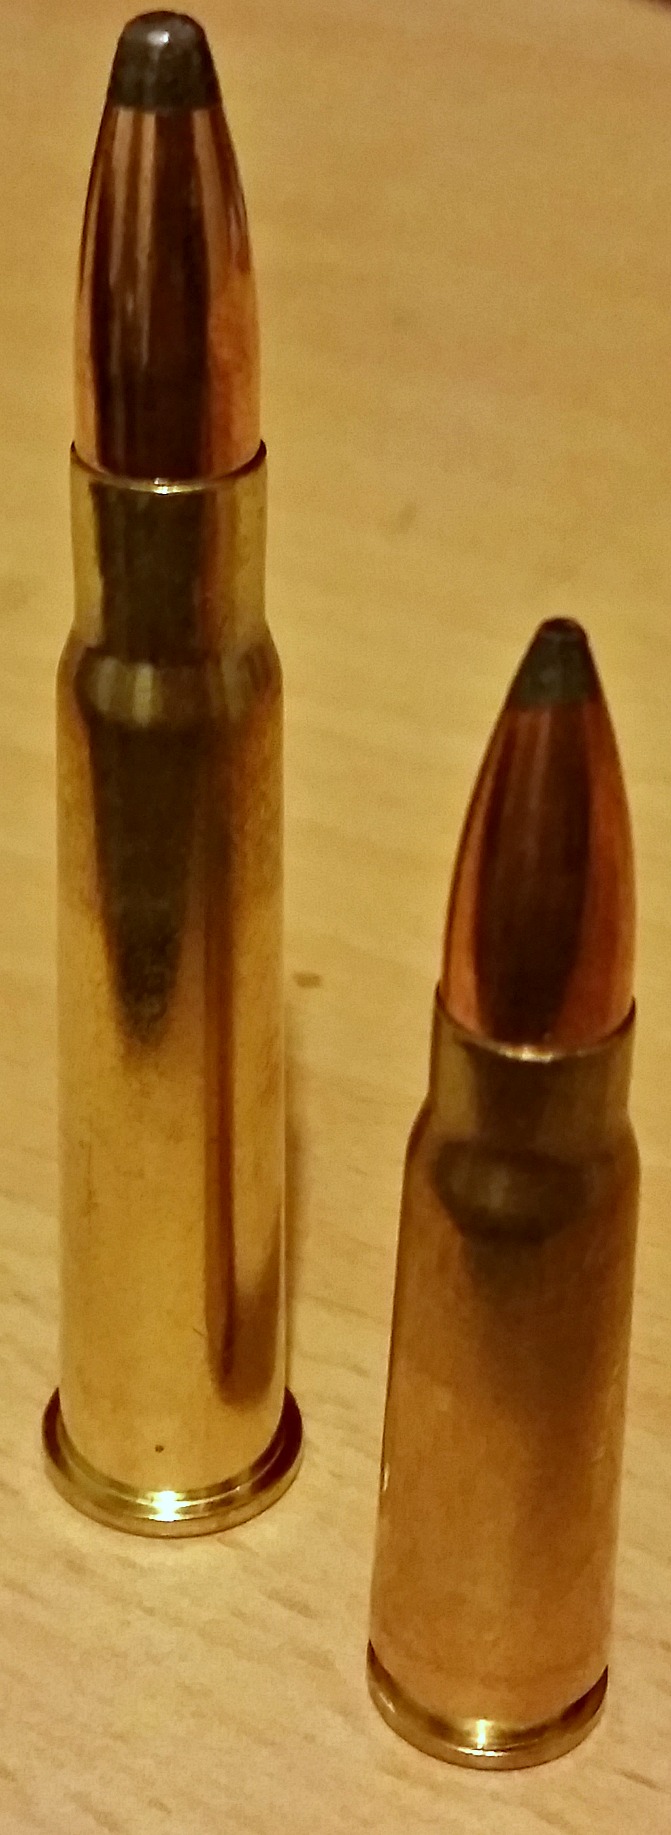
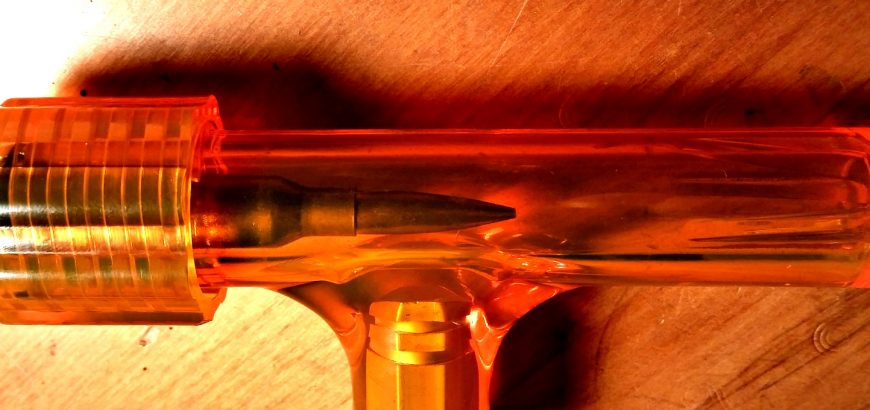
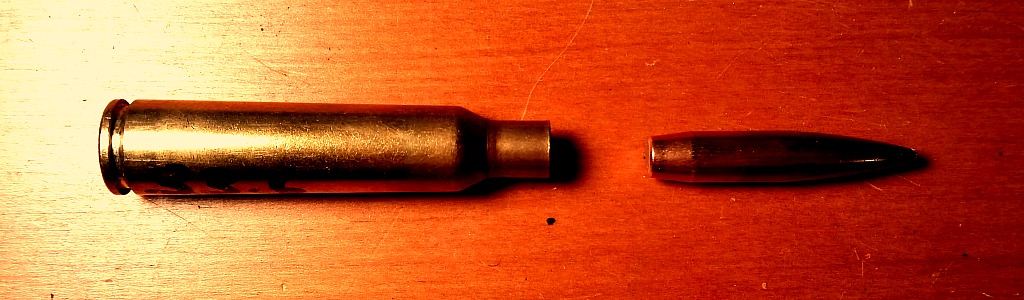
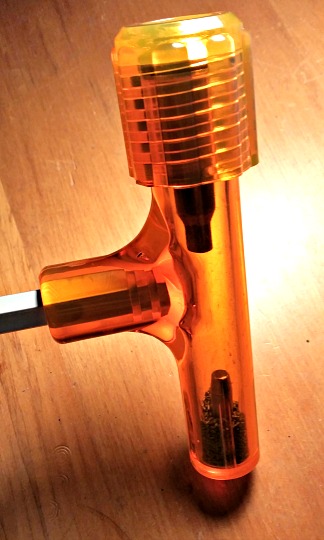
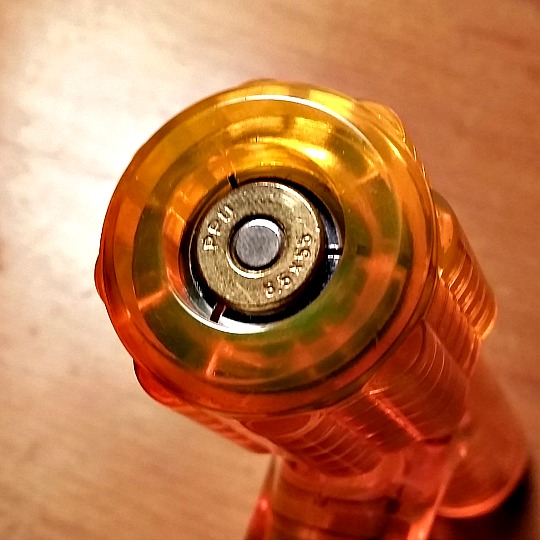
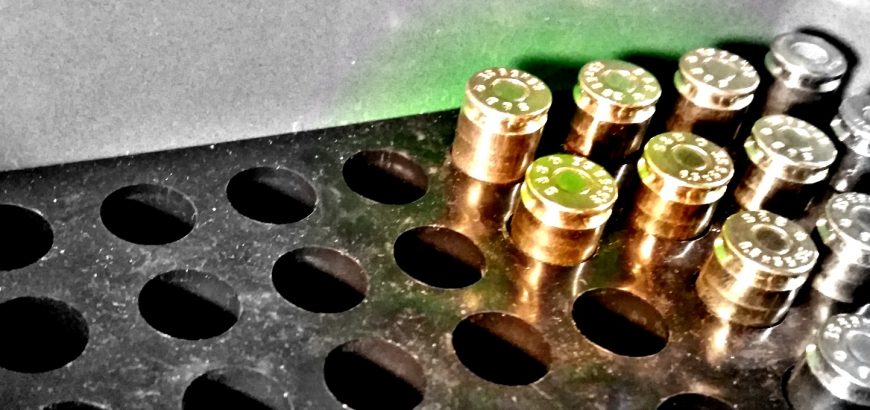
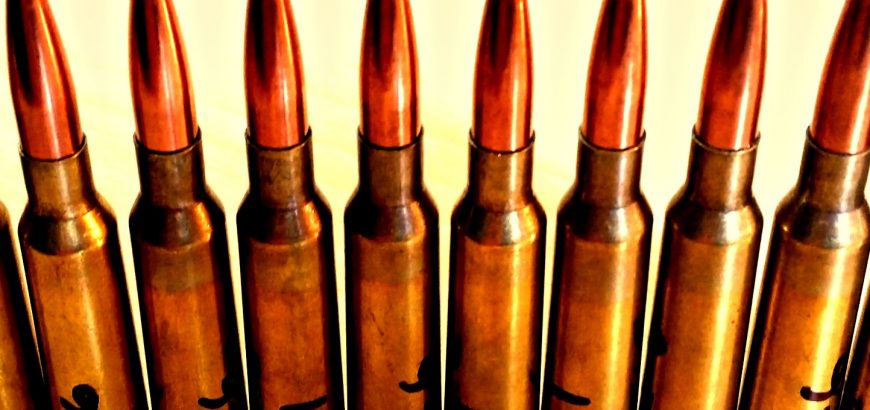
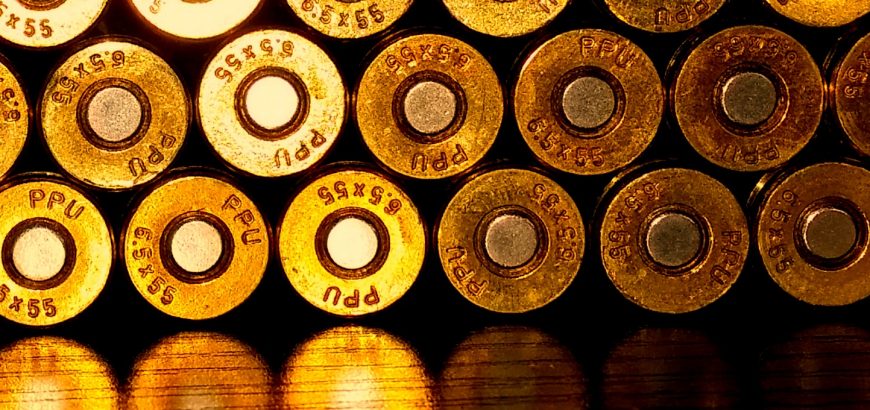
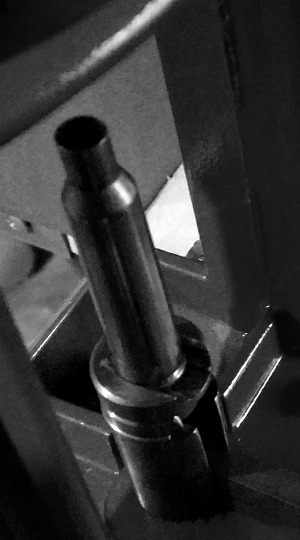
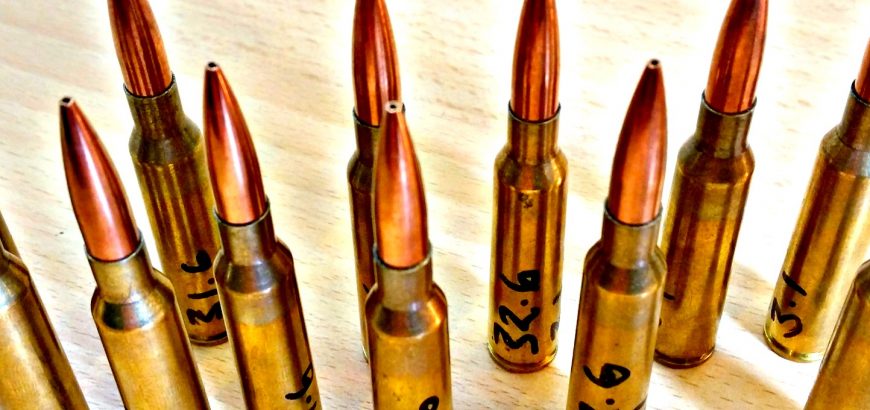
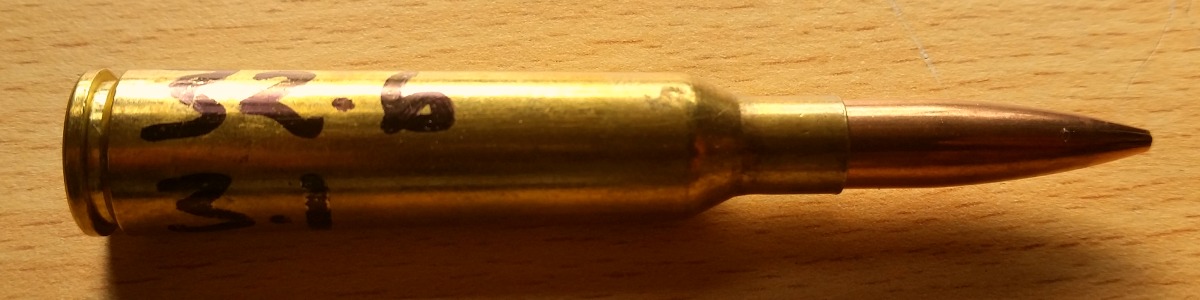
Prvi Partizan ammunition is brass cased and generally considered to be good brass for reloading. Many Swedish Mauser fans rate the 6.5×55 PPU brass behind Norma and Lapua, but ahead of the American-made stuff. In terms of how soft or long-lasting it is, I can’t personally say. I’m on my second round of firing with this lot of brass and haven’t seen anything untoward yet, but we have a ways to go before anything should be cropping up. When I do get my brass into the higher firing counts I’ll post again to let you know, but considering I have over 140 cases for 6.5×55 alone, I doubt that will be any time too soon.
Considering how good the brass is, it’s certainly worth the price. This is especially the case with calibres like the .303 where you might only have a few options, all of which are more expensive. Not only do you get an acceptable level of accuracy out of it, but you have (I’m guessing) between 6 and 10 more reloads out of them – if not more.
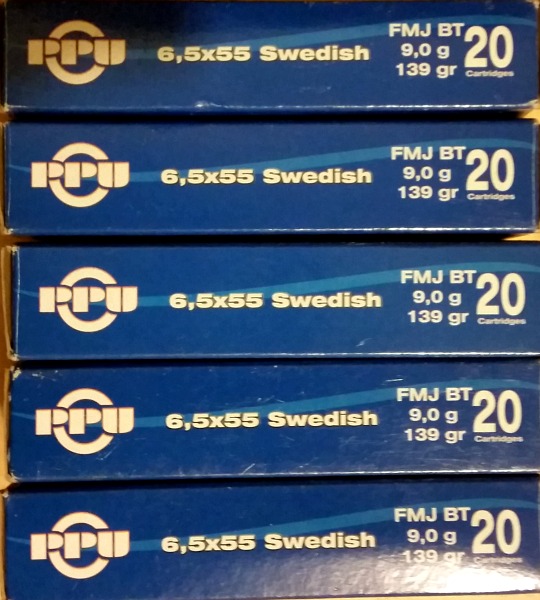
What is the cost? I’ve seen the blue boxes cropping up in a few stores around the country and they’ve ranged in price from $31 to $36 for big rounds like the .303 and 6.5×55. The 7.62×39, which I’ve bought for a reloading experiment, runs at around $30, but if you go to the right Hunting & Fishing, you can pick it up for $25. Most stores will give you a bulk discount if you buy a few packets anyway.
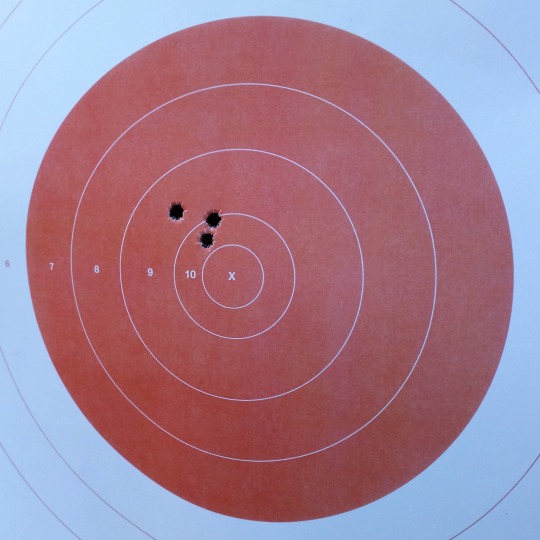
How accurate is it? Well, how long is a piece of string? How accurate a particular round is will be determined by many contributing factors, not least of which are shooter skill and the particular firearm in question. The picture below shows PPU 139gr FMJ 6.5×55 three shot test groups, one is about 1.5 MOA and the other is 2.6 MOA. These are shot from my cut-down 20.5″ barrelled Husky M38. The other target, for comparison, is another reasonably priced brand, Sellier & Bellot 140gr SP, at 2.4 MOA.
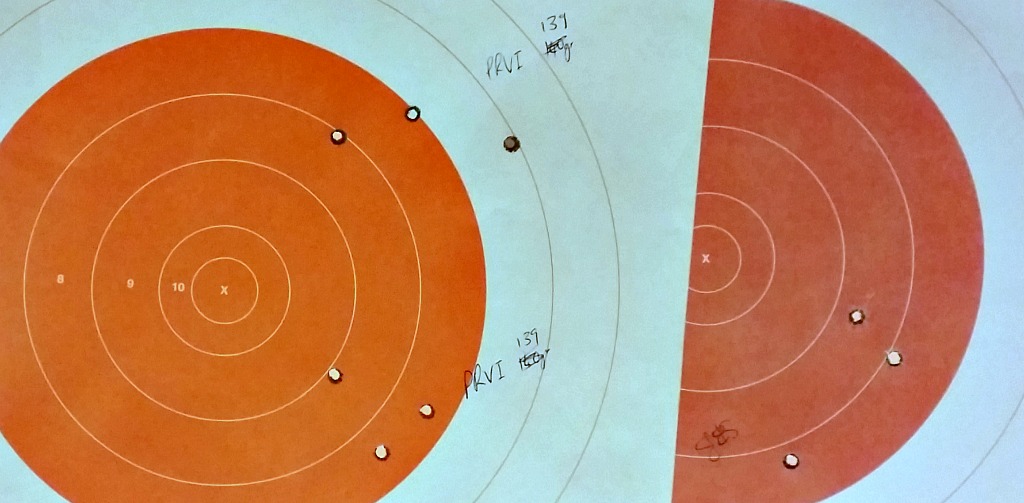
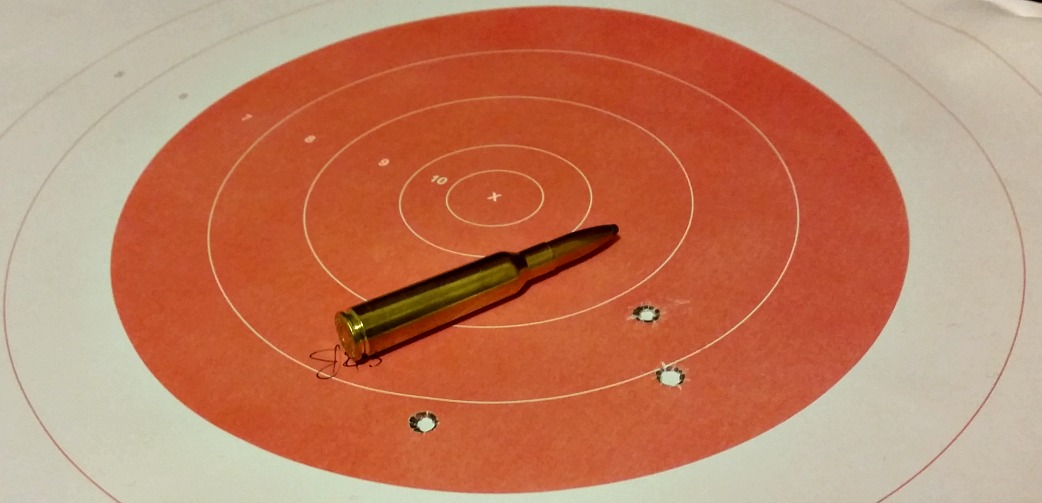
This is not bad, considering many are happy to get 3 or 4 MOA groups with milsurp rifles and cheap ammo. However, you don’t get many people bragging about S&B brass for reloading. The picture below shows the S&B group with an unfired round for reference. Bearing in mind that the orange circle is about the size of a kill zone on a deer, this is very reasonable accuracy. If these groups were zeroed in, every shot would be a clean kill.
The negatives with PPU
Well, no one on the range is going to look at your ammo tin on the range and think your other car is a Porsche. But, if you don’t mind that, there’s not much to gripe about with Prvi Partizan. So far I have only shot .303, 7.62×39 and 6.5×55 in PPU and each has performed better than I would expect budget ammo to. I also find it to be quite clean, generally speaking.
However, if you’re wanting superb accuracy without hand loading your own ammo, this may not be the ammo for you. I would suggest trying it – your rifle may love it – but you may be better off paying one and a half or two times the price to get match-grade ammo.
There may also be variations in weight of brass and even wall thickness or hardness. This is pure, untested speculation. The only reason I say this could be possible is that the low price indicates that the machinery that produces this brass may not be as thoroughly regulated or maintained as those operated by Hornady or Lapua. The staff may not be as well compensated. But who knows?
What you may wish to do is individually weigh up the clean and empty brass out of a box or two, and see what the variation is between cases. Some spread is to be expected, but too much could have an effect on reloading. You could also see how much water each case holds to determine case-wall thickness and internal capacity. Anyway, I’ve been managing to get smaller than 1 MOA groups out of this brass, so I’m not complaining.
Overall, I think it is well worth the purchase. The accuracy is good enough for hunting ammo if you get the soft point variety, and there’s certainly a place for it in the safe if you just want plinking ammunition or a source of cheap brass.