Removing and disassembling the bolt of a Swedish Mauser is a pretty simple affair and may need to be undertaken for any number of reasons. Most commonly, you’ve picked up a rifle nearing a century in age, and there’s a lot of gunk and crap in there that needs to be cleaned out. The other scenario is that you could be modifying your bolt to cock on close, or reduce lock time with lighter materials and a stronger spring.
Hopefully if the latter is your reason for stripping a Mauser bolt, you’ve inherited or bought a sporter – there are fewer and fewer whole specimens left.
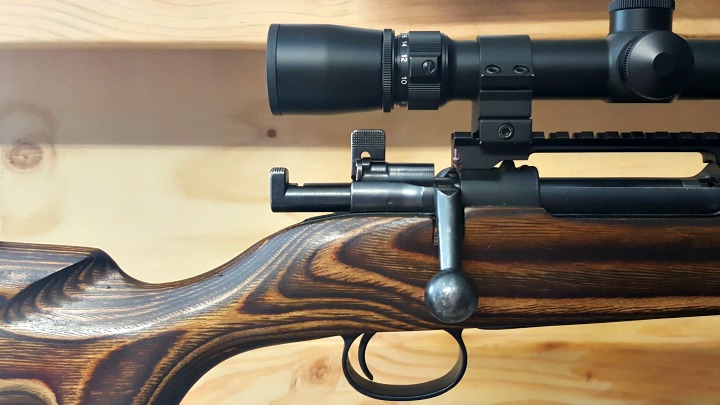
Below are a series of pictures showing how to disassemble a Mauser bolt (small ring, not a K98). If your bolt looks different, don’t fret. This is from a commercial rifle, not a military conversion. It has a blued finish and a bent bolt handle, which thankfully clears my Weaver 44/40 scope, thanks to an EGW 20 MOA rail. If you’re wondering how the extra height affects consistent cheek weld and sight lines, a Boyds stock with adjustable cheek rest helps out there.
Step 1 – Get the firing pin out of the bolt body
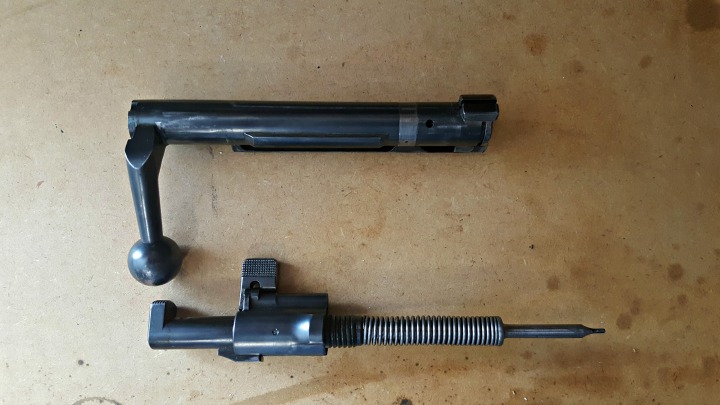
After checking the rifle is unloaded, close the bolt fully.Lift the safety lever into the upright position and remove the bolt without lowering the safety. You may need to remove your scope if the safety won’t clear it.The bolt shroud should easily unscrew from the bolt body now. Note the cocking piece is held under spring tension by the safety lever.The firing pin separated from the bolt body. Again, note the spring and firing pin are locked back – if you don’t do the next step carefully, the spring, cocking piece, and firing pin could separate with a fair amount of speed and force.
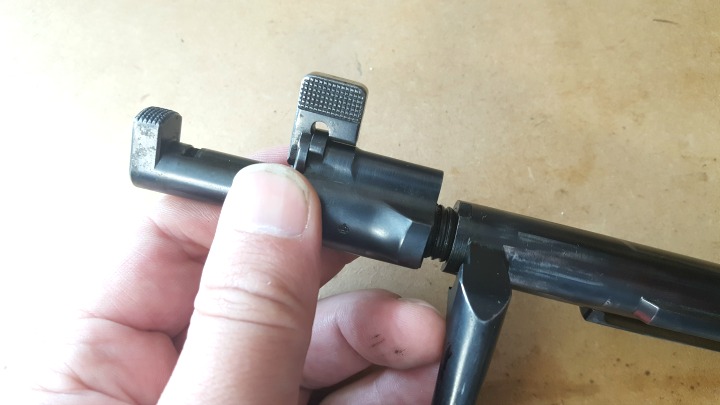
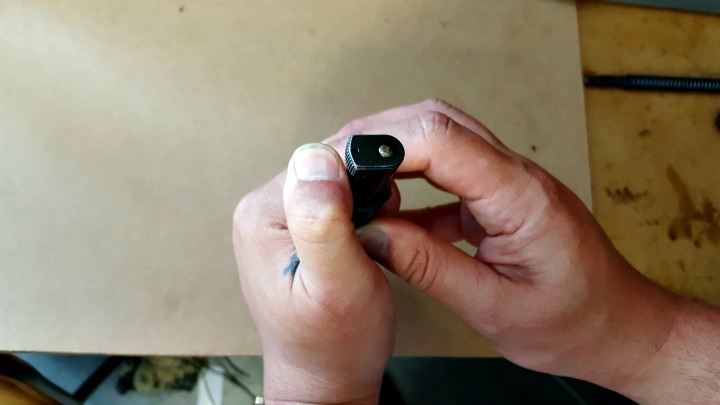
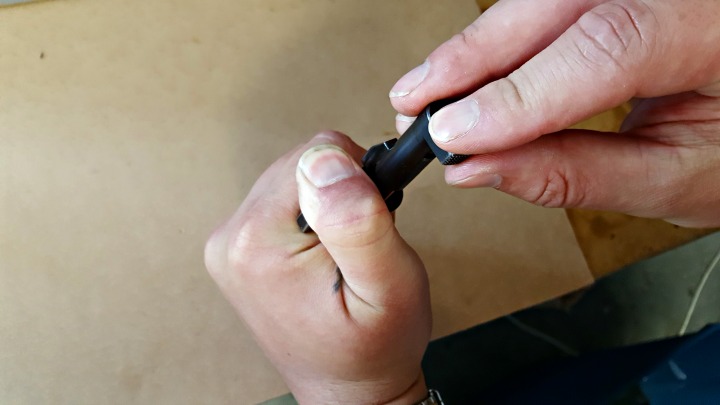
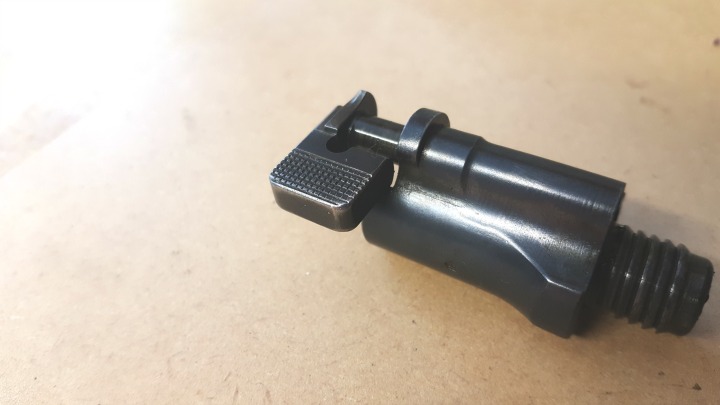
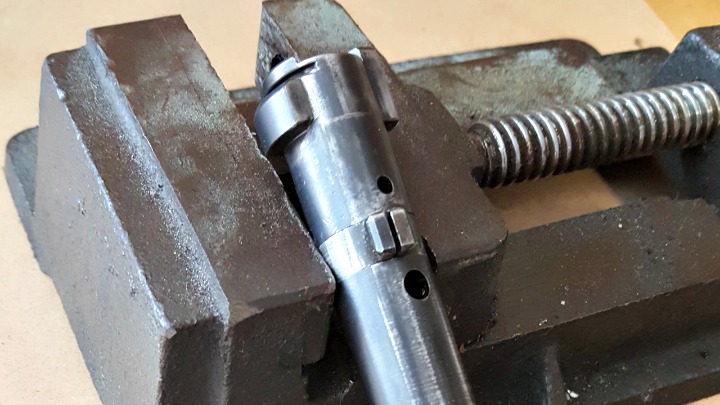
Step 2 – Separate the firing pin from the bolt shroud
Find a hard surface you don’t mind denting. Or, if you have an original stock with brass disc, you can use the indent for this step. With the firing pin against your hard surface, force the bolt shroud downward. The safety lever provides a good amount of purchase.Twist the cocking piece 90 degrees. At this point make sure you have a firm grip on the bolt shroud and firing pin, and slowly release the spring tension to avoid sending pieces flying.Fold the safety lever all the way over and pull it back to separate it from the shroud.Shroud, cocking piece, spring, safety lever, and firing pin.
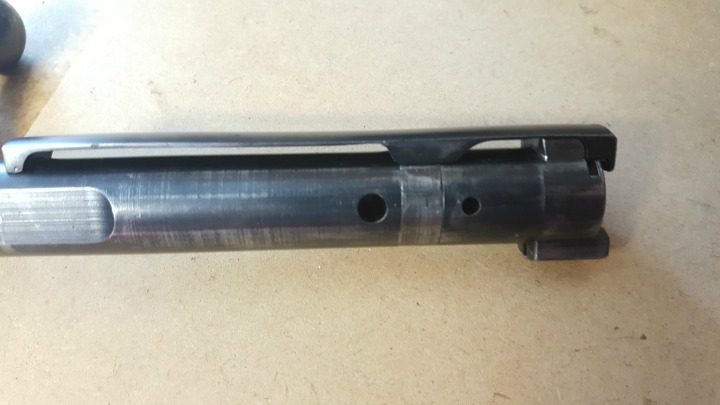
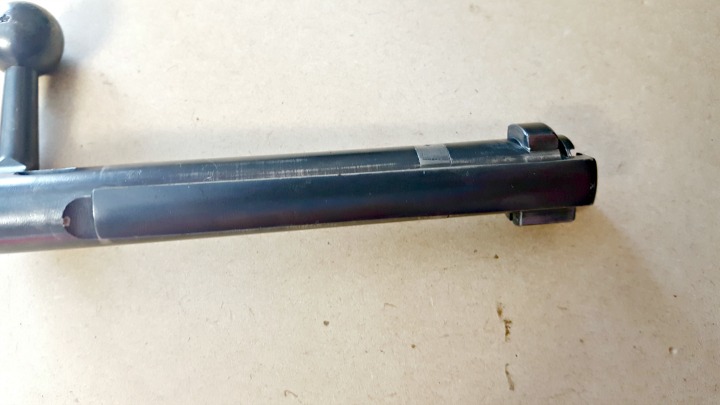
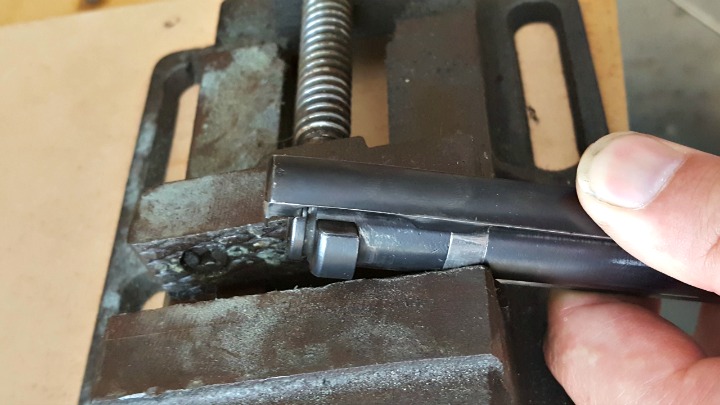
Step 3 – Remove the extractor from the bolt body
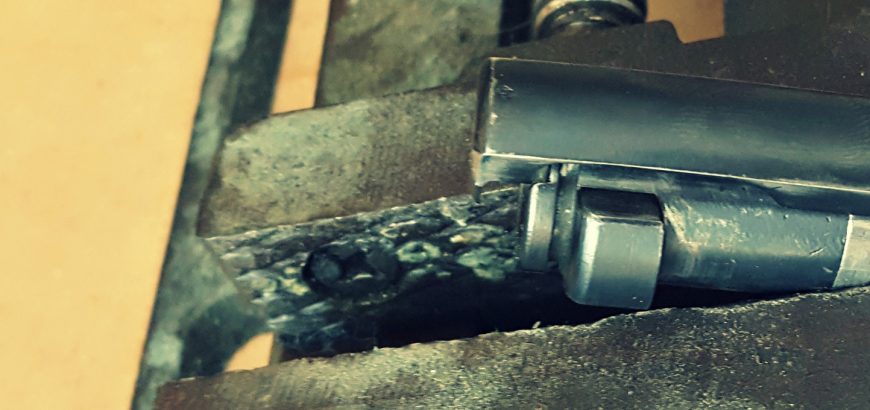
Note the extractor sits in a groove just before the bolt face.Rotate the extractor about 90 degrees so that it exits the notch.Apply downward pressure with your thumb, as you slide the extractor forward. Remember this sweet spot, as you’ll need to apply pressure in the same spot to get the extractor back on.Getting this collar off is easy, but you will stretch it as you do so. A flat screwdriver can be used to pry it open if needed. Getting it back on once it has been taken off is harder, and a vice of some sort will be handy, as you’ll need both hands to get the extractor back on.When reassembling the bolt, getting the extractor onto the collar is probably the hardest bit. If you have locking pliers or a small vice, it shouldn’t be hard to slide the slot on the underside of the extractor onto the collar. Remember where you applied downward pressure to remove the extractor – this is the same spot you need to apply pressure to as you slide it back on.
From here on, the rest of the reassembly is easy, and is simply the reverse of the above.