
New year = New rifle

Well it’s been a great break, with some awesome weather to get outdoors around the country. One thing that’s true every year is that people make goals to join the gym or eat better, especially after the Christmas splurge. It usually takes the form of “New year = New you” or #newyearsresolution #fit2016 #caloriebattle if you’re particularly young and annoying.

There are some parallels for shooters. Not all of us are lucky enough to have a Christmas budget that literally allows for a new rifle, so we’ll have to make do with the weary barrels, actions and stocks that we already have. Just like the once-a-year gym bunnies, this means squeezing maximum performance out of what can be old and tired equipment.

One of the best ways to do this is to ensure good cleaning habits. By maintaining your rifle or shotgun properly, you’ll extend barrel life, ward off rust and stay accurate for longer. Here are a few cleaning tips for a better 2016.

Strip down semi-autos

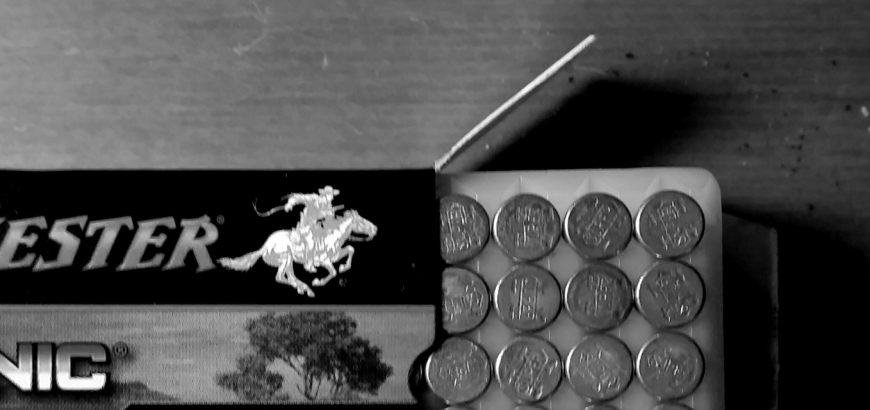
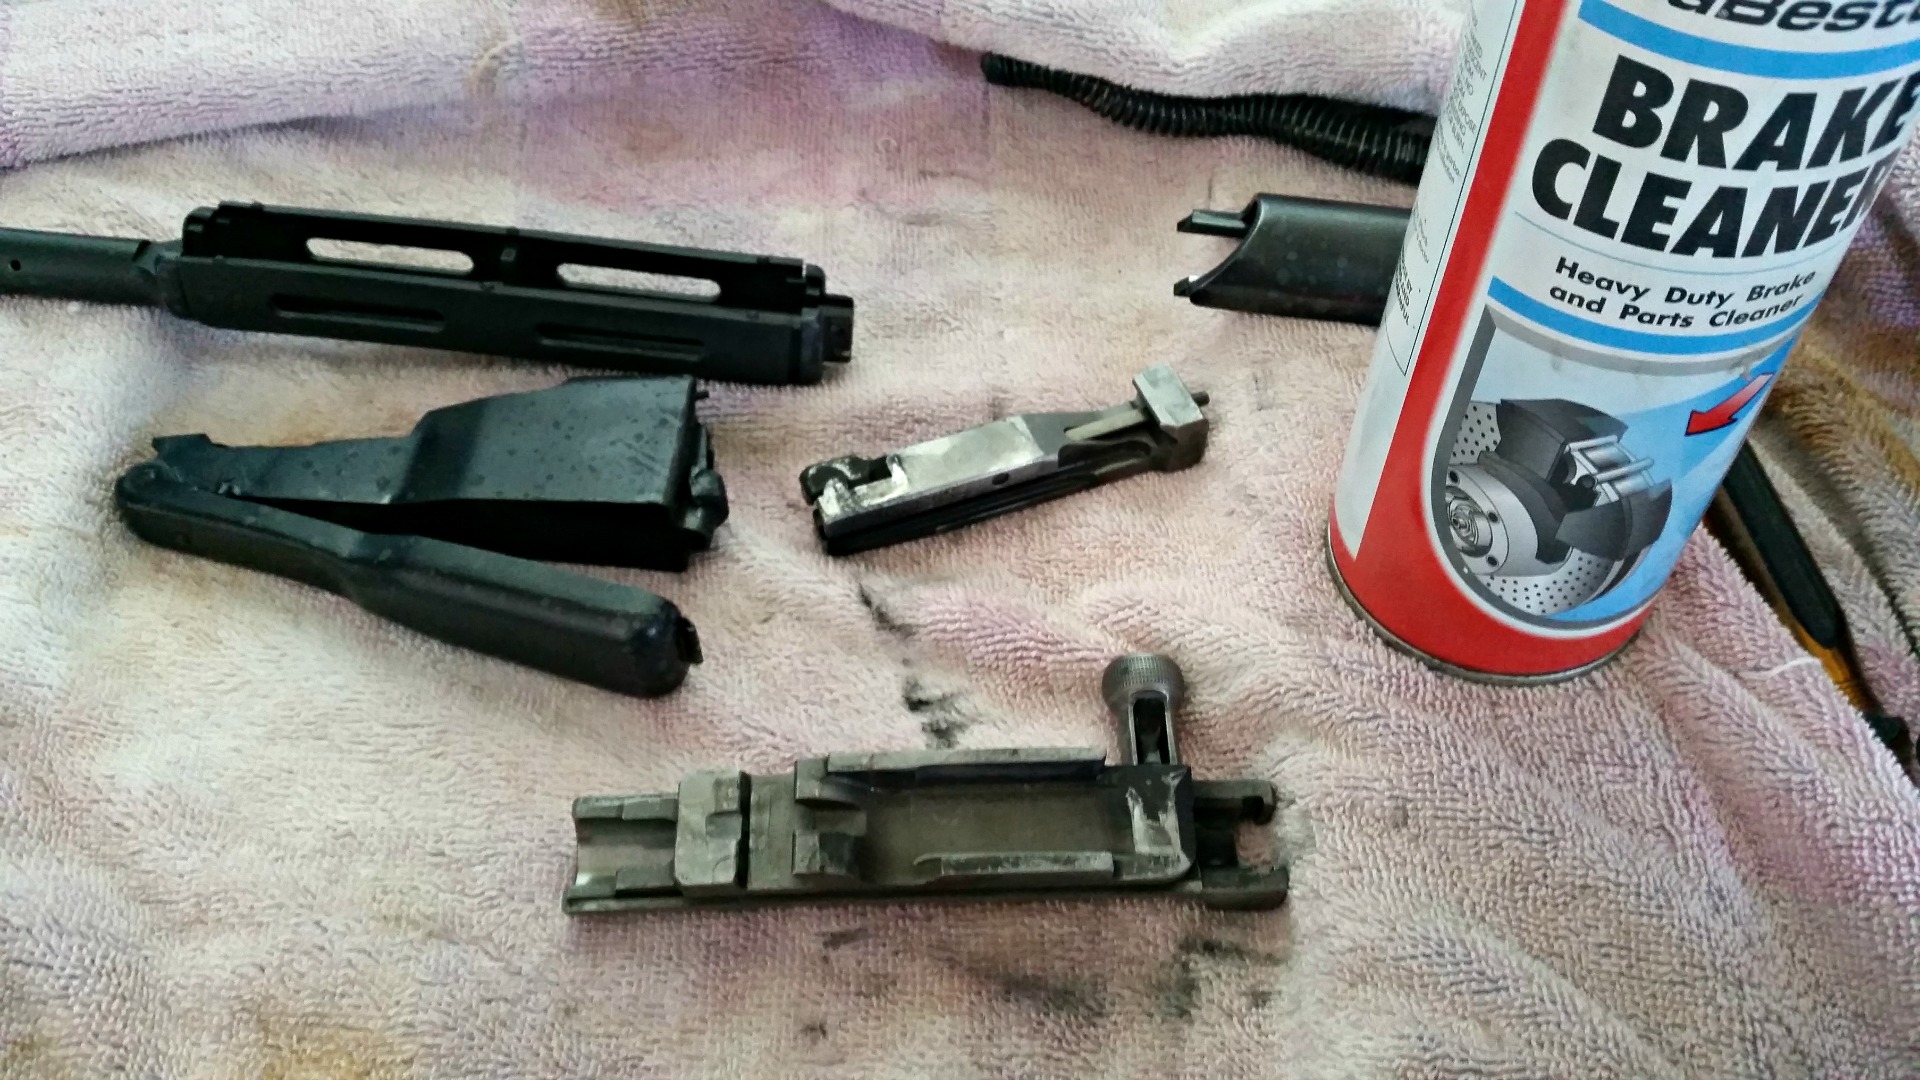
While you might clean the barrel and even the chamber and action of your AR or AK after every range trip, stripping it down and giving it a birthday a few times a year can lead to improved reliability.

A surprising amount of gunk builds up in gas tubes, magazines, under selectors and safeties and even in the nooks and crannies of stocks.

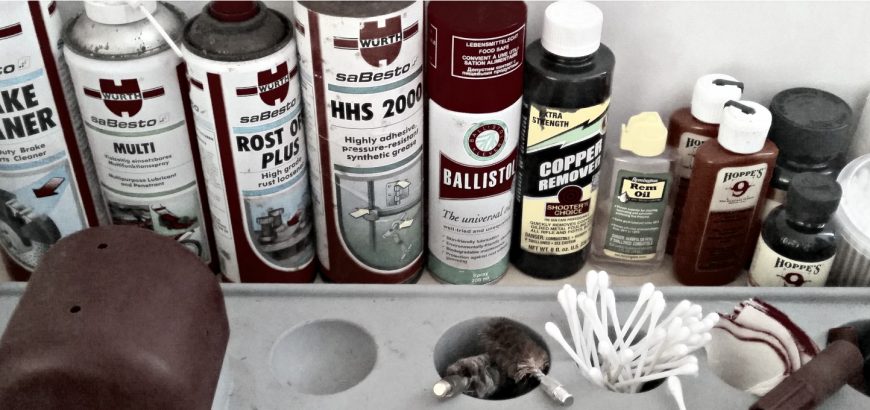
Once you’ve broken down your rifle into its various components, you might cringe at the amount of expensive gun-cleaning product you’re going to have to use to get it ship-shape. My personal recommendation is to use less-expensive cleaners to do the grunt worker. Cleaner-degreasers work well. My favourites are those that are citrus based. Otherwise, a good move is a parts cleaner, such as automotive brake cleaner. Whatever you do use, make sure it’s safe on the materials it will come in contact with. Otherwise, your cheap fix may become very expensive.

Parts cleaners can make for better-functioning weapons.

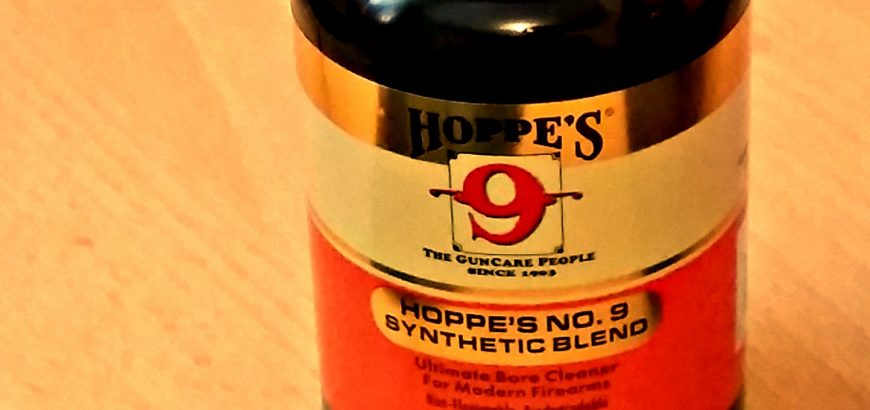
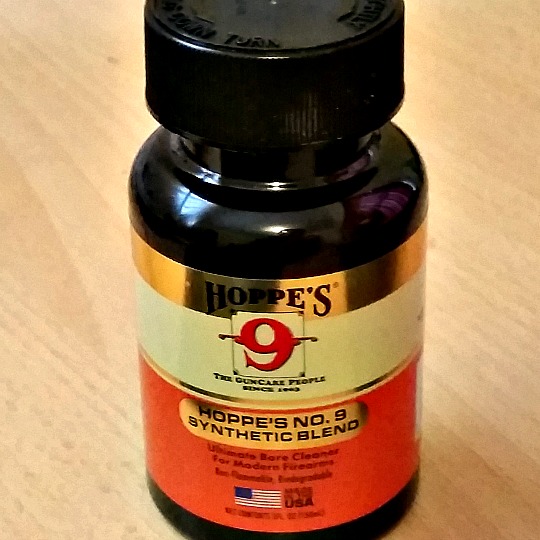
Use a bore cleaner and a copper remover

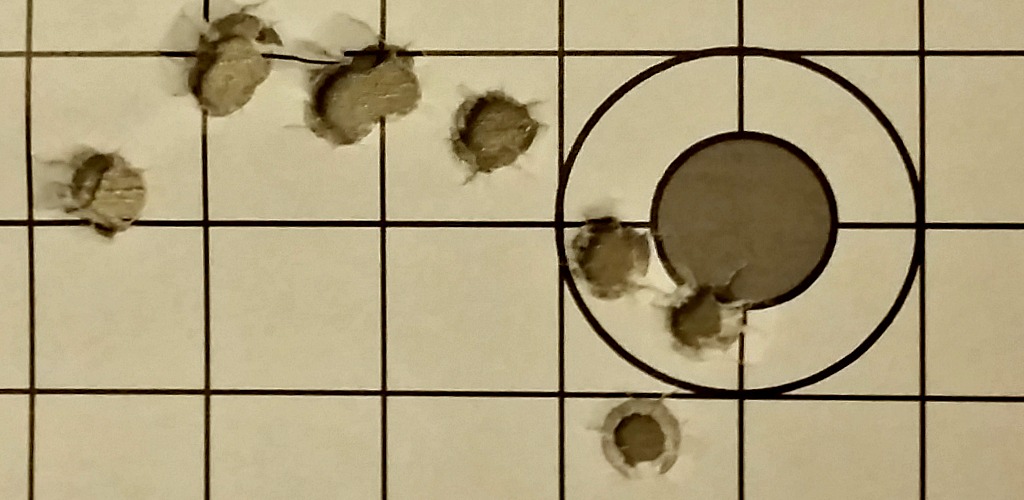
If you’re not too particular about your cleaning, you may not realise that these are in fact two different things. A bore cleaner is great for getting out powder and debris, while a copper remover helps get rid of fouling that can destroy accuracy.

A good cleaning routine makes use of both. I also like to run a wet patch of bore cleaner through my regularly used guns before storing them, and running a dry patch through before shooting them. You’ll be surprised out how much dirt it will lift. I would not recommend doing the same with a copper remover – this shouldn’t stay in your bore for more than 10 mins (depending on the strength of the product).


Industrial and gun care products work side by side.

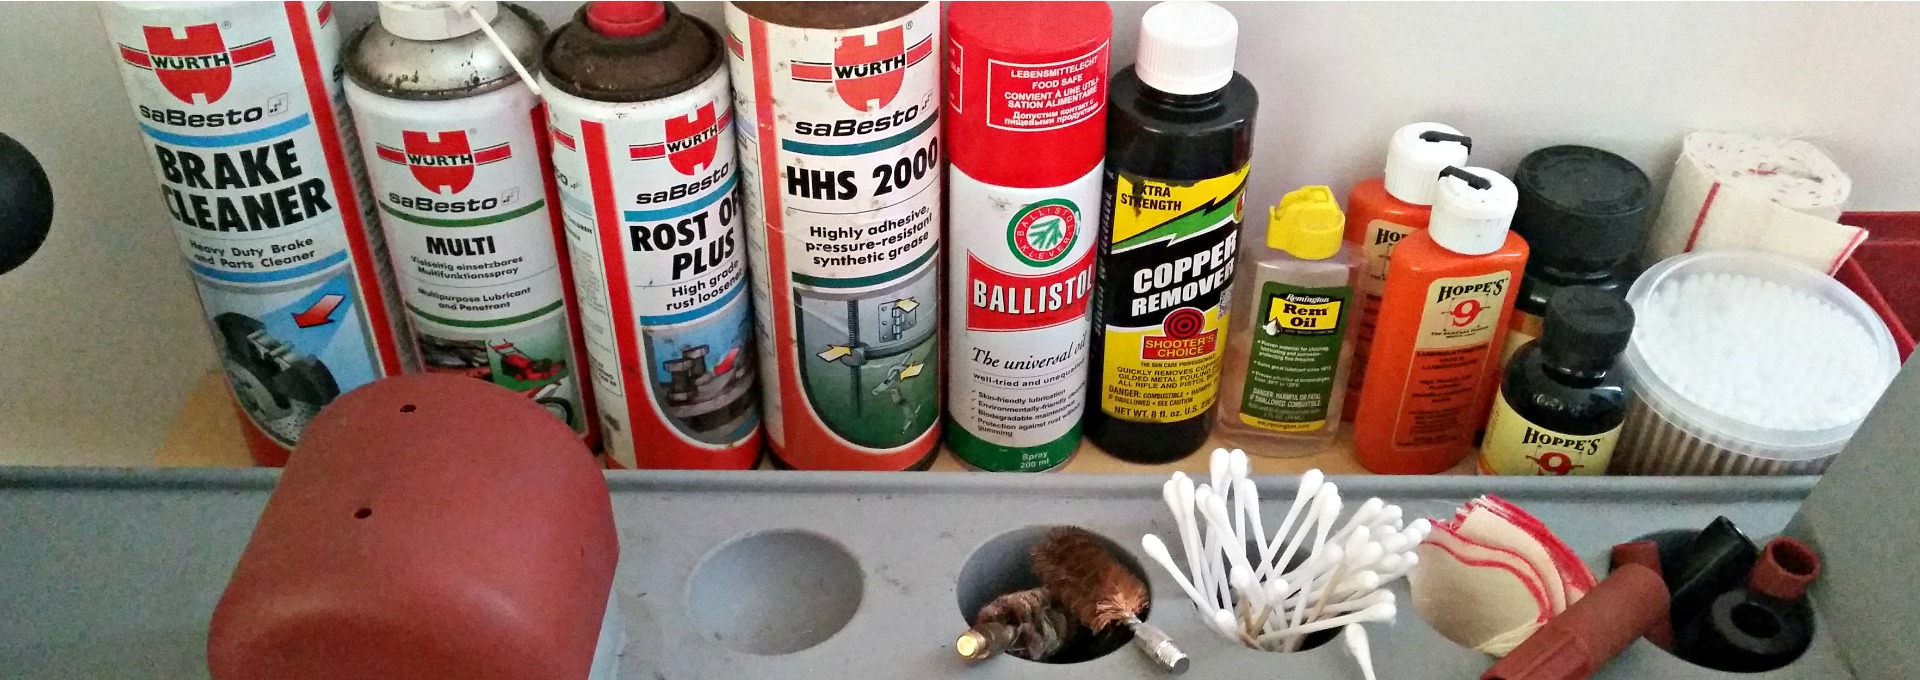
For guns like my Lee Enfield .303, which doesn’t get used as often, the final patch I run through is wet with lubricating oil. It can be a proper gun lubricating oil, or a safe industrial equivalent. Lubricating oil has a high viscosity and clings to metal. This oil won’t drip down into the action, but will stay in the barrel, keeping the lands and grooves free of rust.

Buy a one-piece cleaning rod

Cheap cleaning kits are all good for getting started, and pull-throughs are great for a quick clean in the field. However, if you’re serious about breathing new life into an old rifle, a one-piece rod should be on your shopping list.

Cleaning more often or more vigorously means more wear and tear on your cleaning apparatus. Aluminium and bronze-alloy rods ten to become weak around the threaded joins, and will eventually snap – especially if you use a larger patch for a more thorough clean and have to push quite hard.

A stainless steel rod with a freely rotating handle is a good bet – even better if it has a plastic coating to prevent damage to your breech or muzzle from ‘enthusiastic cleaning’. A multi-calibre stainless steel rod of solid construction can be had for about the same price as a cleaning kit with a multi-part, aluminium rod for a single calibre.

Plastic jags are a good temporary measure, but I wouldn't rely on them.
Plastic jags are a good temporary measure, but I wouldn’t rely on them.

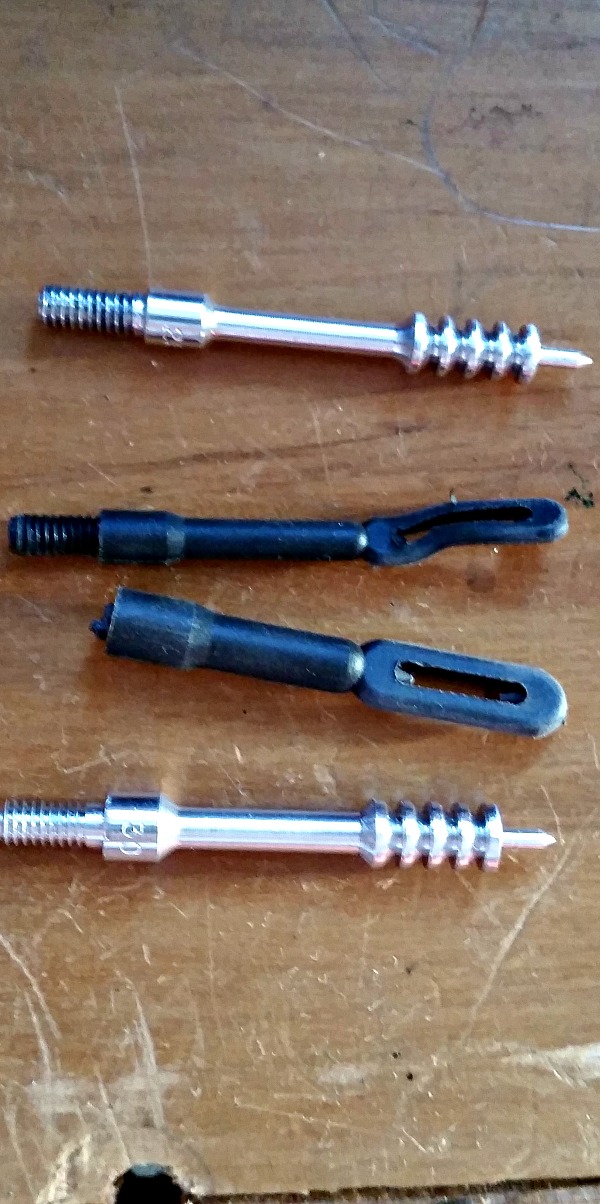
Spend some money on jags

Cleaning jags may seem like a waste of money if you’re relying on the plastic ones that come with cleaning rods or kits, but they do make all the difference. Not only can you buy metal jags specifically designed to remove copper fouling for your specific calibre, but they’re also much less likely to snap or bend under force.

Use a guide for your cleaning rod

Rod/bore guides do several things to help you out, and cost very little. For between $30 and $100 you’ll get a decent guide with adapters that can be used across several/most calibres.

The benefits of a bore guide are as follows:

  • Keep solvents off your stock finish
  • Keep debris and solvents out of your action and mag well
  • Guiding the rod into the bore eliminates unwanted wear on the chamber
  • The guide keeps the rod straight, helping reduce stress on the rod, which could cause it to bend or snap

If you are serious about getting more use out of your rifle between cleans or a more accuracy for your time behind the cleaning rod, you may have to spend a small amount of money on the right tools for the job. In the end you’ll find that setting up your cleaning bench effectively is well worth it. Here’s to a 2016 full of shooting (and just enough cleaning)!

Should I clean my .22LR barrel?

There are many opinions, myths and vagaries about rifle cleaning. Some will tell you to clean and polish your bore after every trip to the range, others will tell you cleaning your rifle is a waste of time or a bore snake will do the trick. However, one thing’s for sure – maintaining your .22 is completely different.

What’s the difference?

Whether it’s rimfire or centrefire, some fouling is often needed to get a barrel shooting to the same, reliable point of impact. Lead rimfire projectiles are much softer copper-jacketed bullets, doing minimal damage to the bore, and the lead deposits left in the barrel don’t do any harm either. Copper not only wears down the barrel, but leaving it in the bore can lead to quicker deterioration of the rifling after subsequent shots.

So, the question then becomes – if fouling is good and lead isn’t harming your barrel, why would you clean your .22?

This picture shows how a clean barrel walks to its point of impact once it fouls up.

How often to clean your .22LR barrel

I don’t personally clean my barrel very often. The standard is “when accuracy starts dropping off”. And to be honest, I’ve never got to that point. I give my .22 a couple pulls through with the bore snake and some Hoppes No. 9 after a couple thousand rounds – give or take a few. But, lead crud is nasty on the action.

I mainly shoot bolt action when I’m shooting rimfire, which means I can feel when the bolt starts getting stiff or it doesn’t feed nicely. Semi-autos tend get gummed up a bit more, as gasses from firing come back into the action. What to do? Use some bore solvent and angled brushes, cotton swabs or cloth to clean the gunk out. Every now and then disassembling the bolt or action could be necessary to ensure reliable functioning. Some shooters also like to clean up the crown, however, I shoot with a suppressor, so I’m not super-fussed on that score.

If you have any questions or tips for cleaning your rifle – share them in the comments below.

Hoppes No. 9 Synthetic Blend.

Product review: Hoppes No. 9 Synthetic Blend Bore Cleaner

Firearm maintenance is different for everybody. For some it’s a sacred ritual after every trip to the range or field, and for others it’s a chore that’s completed as quickly as possible. Either way, the products we use play a big part. I’ve always liked Hoppes No. 9. To be fair it’s not the best cleaner on the market, but it works – and has done so for over a century.

Development of Hoppes Bore Cleaner

However, according to the Hoppes, it’s this very legacy that has resulted in the new synthetic blend. I say new, but it’s been around for a couple years now. Compared to 110 years – it’s still fairly new I guess. While the original No. 9 was developed to deal with the corrosive nature of the, then, new smokeless powders on the market and used by the military. The new synthetic blend is claimed to be an advancement with the modern firearm in mind.

Hoppes’ website says that the new blend is safe on the materials used in modern guns – and let’s be honest, things have changed in the manufacture of firearms. The manufacturer also states that it is biodegradable and non-flamable – not what you’d expect from your average gun cleaner. It’s nice to know that not everything in your garage is harmful to your health and the environment – so that’s a plus.  It even smells the same – and you know you love the smell of old No. 9.

Superior penetration is another claim made by Hoppes, and this is something that you should get excited about. I’m one of those gun owners that likes to run a wet patch through before storing firearms, and a dry patch through when taking them out – given time to work in the bore, you’d be surprised at how much more fouling will come out. So I really appreciate the fact that the new blend is thicker than the old one.

New and improved

The Synthetic Blend says so on the label - so you won't get confused.
The Synthetic Blend says so on the label – so you won’t get confused.

The higher viscosity of the new blend means it’s more cloying – it clings to the inside of your barrel better. A patch will still clean it out, but what I’m talking about is the ability of the cleaner to work it’s way into the grooves and stay there. You’ll notice when you wet a patch that your cleaner on your fingertips is thicker and stays there if not wipe off, whereas you’d barely notice the old No. 9 and it would evaporate or dry fairly quickly. You may also notice reside when you retract your cleaning rod – more proof that the cleaner sticks where you put it.

I do like Hoppes, and will continue to use the new synthetic blend. I’ll have to do another test against some other bore cleaners in the future, but in the meantime, this is one I’ll stick with.


Crown of 303 barrel.

Cleaning tips for centrefire rifles

Everybody has their personal references when it comes to cleaning their rifles. From the guys who wipe down with an oily rag to those that give their gun a thorough birthday every time it sees fresh air, everyone got the “perfect” cleaning method.

I’ll be honest. The way I clean my guns may not suit you, or it could be just what you like. So why bother going through the whole process? There are plenty of books, product manuals and nooks of the internet that will give you all the info you need to clean a weapon. And they’ll likely all be different. If you’re starting out in shooting, read a few of these, hop on the online forums and figure out your own path.

So, instead of running you through cleaning from start to finish (which you have your own ideas on), I’ll go over a few quick tips which you may not have encountered.

3 quick tips for cleaning your rifle faster

1. Roll-your-own

It’s annoying isn’t it? You run a patch through your bore and it comes out filthy, but only a tiny bit of it. So you end up going through a bunchy of patches (and time) trying to get as much gunk out of your rifle as possible.

Well, instead of threading your patch through, you can either use circular patches to make a swab (not my favourite – too much effort), or roll your patch around a Parker Hale style jag. Instead of having only the front tip of your cloth/jag picking up dirt, you create a cylinder that exposes the sides of the jag to the barrel. This way you use almost the entire patch, instead of about a quarter of it.

Here’s a great blog post on brush/jag types and different solvents. If you’re starting out and figuring your way around cleaning a rifle, it’s a good place to start from.

2. Go both ways

A lot of people will tell you to never run a brush both ways through the barrel. Why? Because they don’t want to damage the crisp edge of the crown – the very last surface contact a projectile has with your rifle’s barrel. While there is some merit to this thinking, the effects of a brass/bronze brush, or even a nylon brush, on hammer forged steel should be minimal.

I’m not as gung-ho about this as some people who will vigorously scrub with the brush completely exiting the bore, but I will happily pull my brush backwards and forwards through the barrel, without pushing the entire brush through. It just makes me feel better. I give the whole barrel a thorough going over and push the brush out at the end and remove the brush before pulling the rod back through.

And no, never clean from the muzzle end. There are too many reasons why you shouldn’t and none why you should. Aside from protecting the crown, you don’t want to push all the junk back into your action and magazine.

However, your solvent should be doing most of the work when it comes to cleaning, so you should only really be brushing if you are dealing with a heavily fouled barrel.

3. Leave it wet

Yup, that solvent should do most of the job. So why not leave it working? Once you’ve got your barrel to an acceptable level, I like to run another wet patch through.

For a rifle I shoot fairly regularly, I will run a patch of Hoppe No. 9 through and let the solvent work away. Before shooting I’ll put a dry patch through and be surprised (every time) at how much carbon and copper had been too stuck in there to come out the first time.

If I’m cleaning a rifle that will likely go back in the safe for a few months, the last patch I’ll run through will be soaked in lubricating oil. Not because I’m trying to lube anything up, but because it has a high viscosity and likes to cling to the inside of the barrel, instead of running out like regular oil. This will be a protective layer that will inhibit any rust formation. A rifle that is being stored in the safe for that long usually gets a wipe down all over the metal and wood with an oily rag, to keep everything from getting that thin layer of red that likes to pop up in safes in Auckland’s muggy climate.

Hope that’s clear as mud! Leave your own cleaning tips in the comments below.